CREATIVE
MINIMALIST
VISUALS.
I'm Rene Pedersen. I write about code and life, and I capture the world in monochrome with the
occasional splash of color!
Latest Writing
The Tools I Use
Computers are, for the most part, useless piles of plastic and regret. But occasionally, you find a bit of software that has... speed and power.
Read Full StoryRECENT SHOTS
All Photos
light

adios
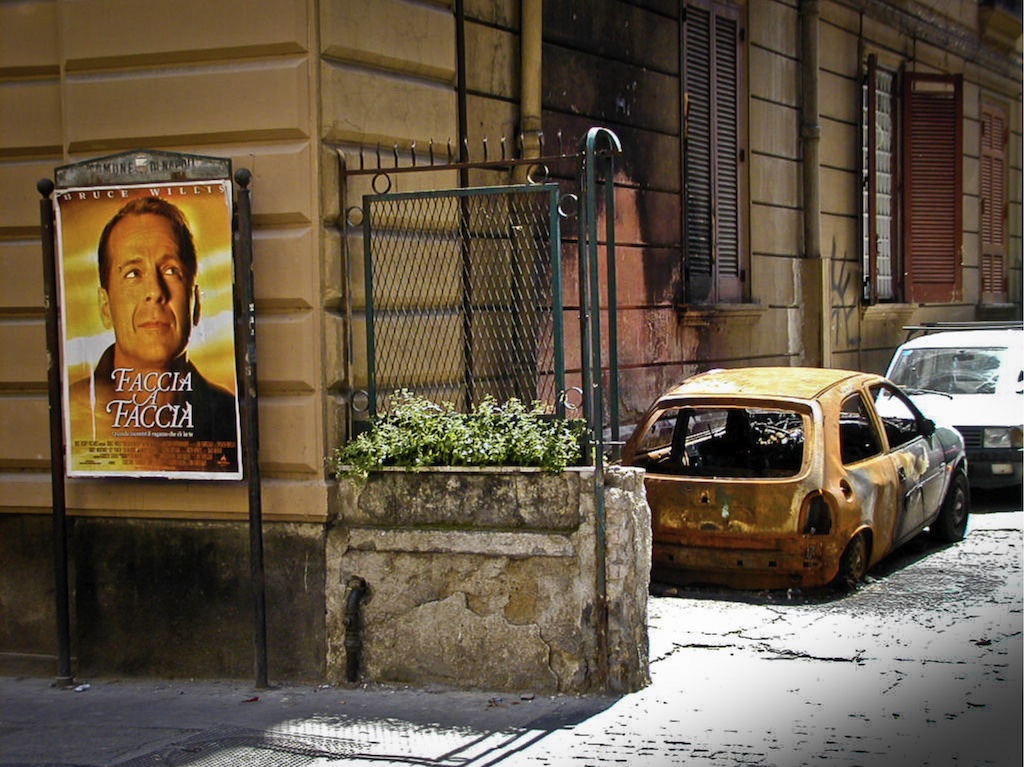
bruce